Edited: February 4, 2026
If your toilet is leaking, running nonstop, or you’re prepping for repairs, knowing how to shut off the water quickly can save you a whole lot of stress (and mess). In this guide, we’ll walk you through how to locate and operate your toilet shut-off valve — also called a water supply valve or toilet water valve — so you can take care of things fast.
Whether it’s a plumbing emergency or just a loose handle, here’s how to confidently shut off the water to your toilet, step by step.
How to Shut Off Water Supply to Your Toilet
- Step 1: Identify the Toilet Shut-Off Valve
- Step 2: Understand the Valve’s Design
- Step 3: Turning Off the Water Supply
- Step 4: Handling Valve Maintenance
- Step 5: Know When to Seek Professional Help
Understanding and managing your home’s plumbing system, especially the toilet’s shut-off valve, is crucial for maintaining a safe and functional living space. This guide aims to provide a more detailed, step-by-step approach to help you familiarize yourself with this essential component, ensuring you’re prepared for any plumbing emergency that may arise.
Step 1: Locate the Toilet Shut-Off Valve
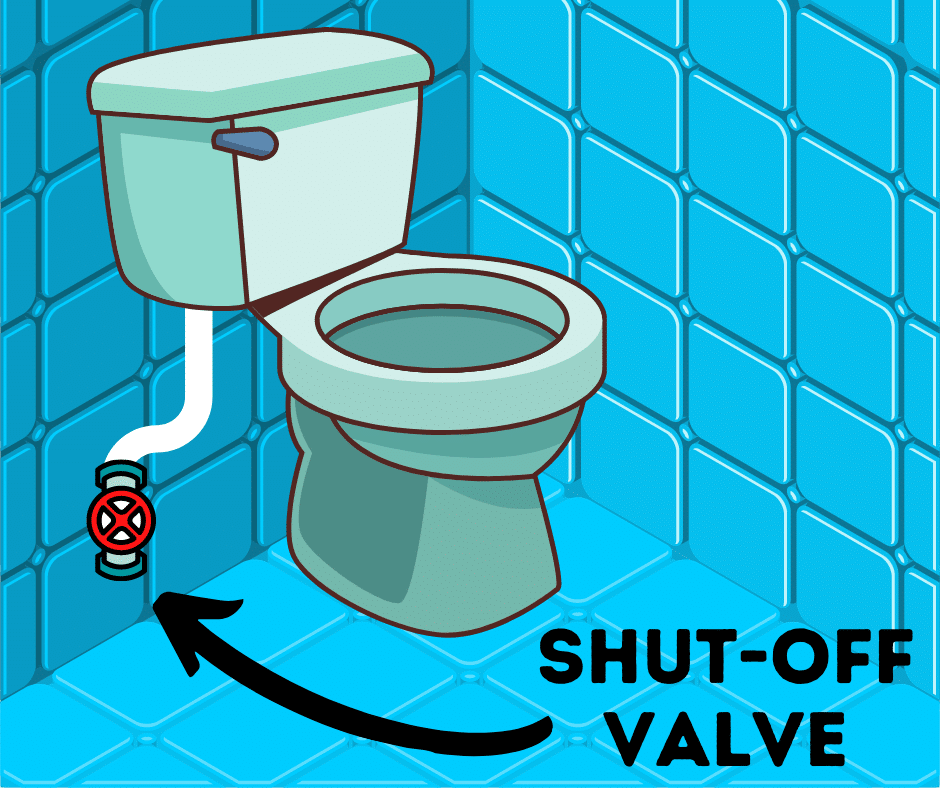
Let’s start with the basics: look down and to the left of your toilet bowl. There’s a small valve connected to the pipe coming out of the wall or floor; this is your toilet shut-off valve. It’s usually shaped like an oval or football, and it’s how you stop water from flowing into the tank.
If you don’t see it at first, don’t worry! Some valves are tucked behind the bowl or close to the baseboard. Take your time and use a flashlight if needed.

Step 2: Understand Your Toilet Water Valve Type
There are two main types of toilet supply valves:
- Multi-turn valves – You’ll need to rotate these several times clockwise to close them.
- Quarter-turn valves – These only need a 90-degree turn (a quarter circle) to shut off completely.
It’s good to know which type you have before you’re rushing to stop a leak. This is one of those “better to know before you need it” tips.

Step 3: Turning Off the Water to Your Toilet
Even if you’re worried about which direction to turn the shutoff valve, it’s easy to remember: to stop water from flowing to the toilet, grab the valve handle and turn it clockwise (remember: righty-tighty). If it’s a quarter-turn style, you’ll feel it click into place after one turn, while older valves may require a few full turns.
Test it:
Once it’s turned off, flush the toilet. The tank should empty but not refill. If it stays empty, congrats—you’ve successfully shut off the water to your toilet.
These instructions help with:
- How to turn off water to toilet
- Which way to turn water valve off toilet
- Turning off water to toilet during a leak
Step 4: What If the Shut-Off Valve Is Stuck?
Old or rarely used valves can stick. If your toilet water shut-off valve won’t budge, try applying a little WD-40 or plumber’s grease and give it a minute. Avoid using heavy tools—if the valve feels fragile or corroded, it might need replacing.
And if the water keeps flowing even after you’ve turned the valve? It’s time to call in a pro.
Step 5: When to Call Radiant for Toilet Valve Repairs
If you’re dealing with a broken valve, a leaky connection, or you just don’t want to risk a plumbing misstep—Just Call Radiant. We’ve been helping homeowners in Austin and San Antonio since 1999, and we know toilets better than we’d like to admit.
Our licensed plumbers can inspect, repair, or replace any toilet water shut-off valve, and we’re always ready to help you protect your home from unexpected damage.
Toilet Leak? Valve Won’t Shut Off? Call Radiant for 24/7 Emergency Plumbing.
If your shut-off valve is stuck, leaking, or the water just won’t stop—don’t wait. Radiant Plumbing & Air Conditioning offers 24/7 emergency plumbing services in Austin and San Antonio. We’re ready when you need us most, with licensed plumbers who’ll get things under control fast and fix it right the first time.
Call now – we’re standing by to help.


